
Did you know that you can easily run Oracle Autonomous Database in a container on your local machine? This is a great for development. It’s totally free, and you don’t even need to authenticate to pull the image. It also includes Oracle REST Data Services, APEX, Database Actions and the MongoDB API, so you get a nice built-in browser-based UI to work with your database. The free version does have a 20GB limit on database size, but for development purposes, that’s fine.
Prefer to watch a video? Watch this content on YouTube instead
To start up a database, you can use this command, just replace the “xxxxxx”s with proper passwords. Note that the volume is needed so data will be persisted across container restarts, if you leave that out, you’ll get a new empty database every time you restart the container:
docker run -d \
  -p 1521:1522 \
  -p 1522:1522 \
  -p 8443:8443 \
  -p 27017:27017 \
  -e WALLET_PASSWORD=xxxxxx \
  -e ADMIN_PASSWORD=xxxxxx \
  --cap-add SYS_ADMIN \
  --device /dev/fuse \
  --volume adb-free-volume:/data \
  --name adb-free \
  container-registry.oracle.com/database/adb-free:latest-23ai
The ports listed are for the following access methods:
- 1521 TLS
- 1522 mTLS
- 8443 HTTPS port for ORDS, APEX and Database Actions
- 27017 MongoDB API
Once the database has started up, you can access the web UI using these URLs:
- APEX https://localhost:8443/ords/apex
- Database Actions https://localhost:8443/ords/sql-developer
Here’s what the Database Actions login page looks like, you can log in with the user “admin” and the password you specified:

When you sign in, you will see the launchpad, from where you can access various tools:

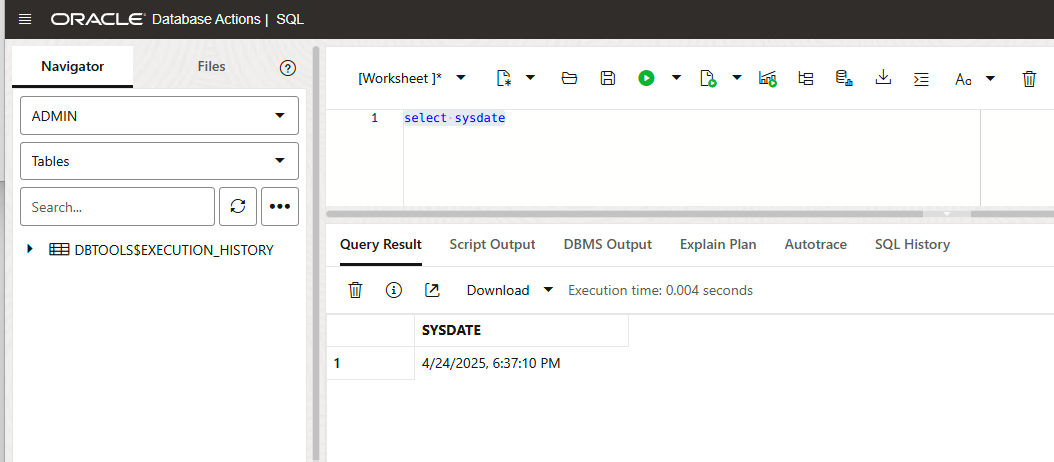
For example, you could open the SQL tool and try executing a statement:
You may also want to connect to your database using other tools like Oracle SQL Developer (which is a Visual Studio Code extension) or SQLcl (which is a command line tool), or from a program. To do this, you will probably want to grab the wallet, read on!
Connecting the the database
If you want to use mTLS, you can get the wallet by copying it from the image using this command, just provide the desired destination path in the last argument:
docker cp adb-free:/u01/app/oracle/wallets/tls_wallet /path/to/walletNote that the address will be ‘localhost’ in the tnsnames.ora, so you will need to update that if necessary.
To use the wallet, set your TNS_ADMIN environment variable:
export TNS_ADMIN=/path/to/walletThe following TNS aliases are provided, for mTLS:
- myatp_medium
- myatp_high
- myatp_low
- myatp_tp
- myatp_tpurgent
And for TLS:
- myatp_medium_tls
- myatp_high_tls
- myatp_low_tls
- myatp_tp_tls
- myatp_tpurgent_tls
Here’s an example of connecting with SQLcl:
$ TNS_ADMIN=/path/to/wallet sql admin/xxxxxx@myatp_high

SQLcl: Release 24.1 Production on Fri Apr 25 10:41:46 2025

Copyright (c) 1982, 2025, Oracle.  All rights reserved.

Last Successful login time: Fri Apr 25 2025 10:41:48 -04:00

Connected to:
Oracle Database 23ai Enterprise Edition Release 23.0.0.0.0 - Production
Version 23.6.0.24.11

SQL> select sysdate;

SYSDATE
____________
25-APR-25
Here’s an example of connecting from SQL Developer. When you create the connection, just choose the location of the wallet (tnsnames.ora file) and it will let you select the TNS name to connect to:

Enjoy!


You must be logged in to post a comment.